


How Many Vents Does a Shipping Container Need?
A standard shipping container typically includes 4 to 6 vents. These vents maintain proper air balance by equalizing internal and external pressure and preventing moisture accumulation.
TRUSUS container insight: a healthy container does not only seal—it breathes in balance.
Each vent placement ensures humidity control during voyages. The exact number may vary depending on the container type, cargo moisture content, and the intended use after shipping.
Standard Vent Configuration
| Container Type | Typical Vent Quantity | Location | Purpose |
|---|---|---|---|
| 20’ Dry Container | 4 vents | 2 front, 2 rear | Pressure equalization |
| 40’ Dry Container | 6 vents | 3 front, 3 rear | Moisture control |
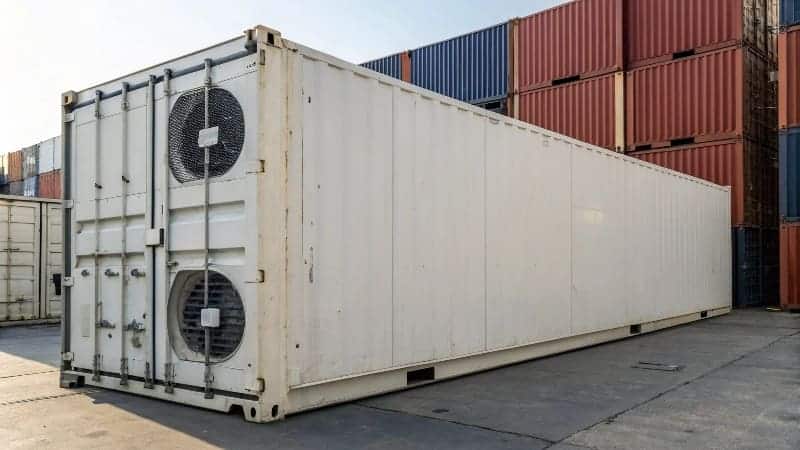
| Reefer Container | Variable | Temperature specific | Refrigeration airflow |
| Modified Storage Unit | Custom | Site dependent | Ventilation or comfort |
The goal is not airflow like a fan, but steady humidity balance to protect goods from condensation and "container rain."
Where to Put Shipping Container Vents?
Vents should be placed at the upper corners of opposite sides of the container—usually near the front and rear walls. This placement encourages natural cross‑ventilation and minimizes exposure to rain entry.
TRUSUS design insight: vent position defines how a container manages temperature and moisture naturally.
Vent Placement Guide
| Placement Area | Recommended Height | Reason |
|---|---|---|
| Upper Rear Corner | Within 150–200 mm of roof | Expels warm air and water vapor |
| Upper Front Corner | Same height as rear | Allows cross‑pressure flow |
| Side Wall Vent (for conversion) | Human head height | Improves breathing airflow in living units |
| Roof Vent (optional) | Centered or rear | Active ventilation boost |
Correct vent positioning ensures that airflow follows natural convection paths—warm, moist air exits at the top, while cooler air enters from the opposite side.
How Should Vents Be Installed?
Vents should be cut and welded into place using corrosion‑resistant materials like stainless steel or galvanized steel. Install vents with integrated mesh to keep out insects and debris.
TRUSUS installation insight: every vent cut is a small engineering decision—strength, seal, and airflow must stay in harmony.
Vent Installation Steps
| Step | Action | Key Consideration |
|---|---|---|
| 1 | Mark vent locations symmetrically | Avoid interference with structural corrugations |
| 2 | Cut opening with plasma or hole saw | Smooth edges to prevent rust |
| 3 | Fix vent housing with sealant or weld | Maintain watertight seal |
| 4 | Add insect mesh and internal cover | Keep airflow clean |
| 5 | Apply rust‑resistant paint | Restore metal protection |
For modified living or storage uses, install at least one intake and one exhaust vent to sustain consistent airflow.
Do Shipping Containers Come With Vents?
Yes, most standard shipping containers come with factory‑installed passive vents. These vents are small, gravity‑type openings designed for humidity equalization during transport—not for occupant ventilation.
TRUSUS modification insight: standard vents manage climate for cargo, not for people.
Factory Vent Specifications
| Feature | Description | Limitation |
|---|---|---|
| Type | Passive louvered vent | No active air exchange |
| Quantity | 4–6 | Limited to humidity control |
| Open Area | Small mesh slit | Not fit for living conversions |
| Upgrade Option | Louver + fan kit | Needed for long‑term occupancy |
When converting a container for housing or workspace, additional side or roof vents plus mechanical fans ensure safe, breathable environments.
Conclusion
At TRUSUS, I believe a container’s true value lies not in how tightly it seals, but in how intelligently it breathes. Controlled air exchange transforms metal boxes into living, sustainable spaces.
